





Your internet provider can see every site you visit. Public wifi at a café, airport, or hotel is an easy target for anyone running basic interception tools. And if your kids are online, whether on their own phone, a school laptop, or a tablet at a friend’s house, they’re exposed to the exact same risks, usually with far less awareness of what’s actually happening in the background.
A VPN doesn’t fix all of that by itself, but it closes the most common and most exploitable gaps. It hides your IP address, encrypts your traffic so it’s unreadable on the network you’re connected to, and, with the right settings, blocks a good chunk of malicious sites and trackers before they ever load.
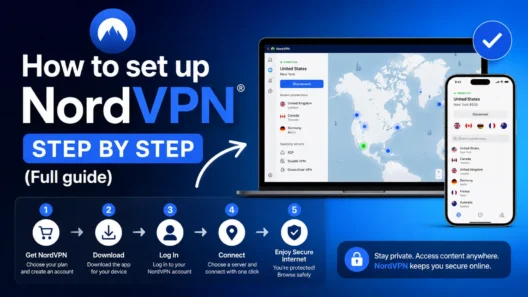
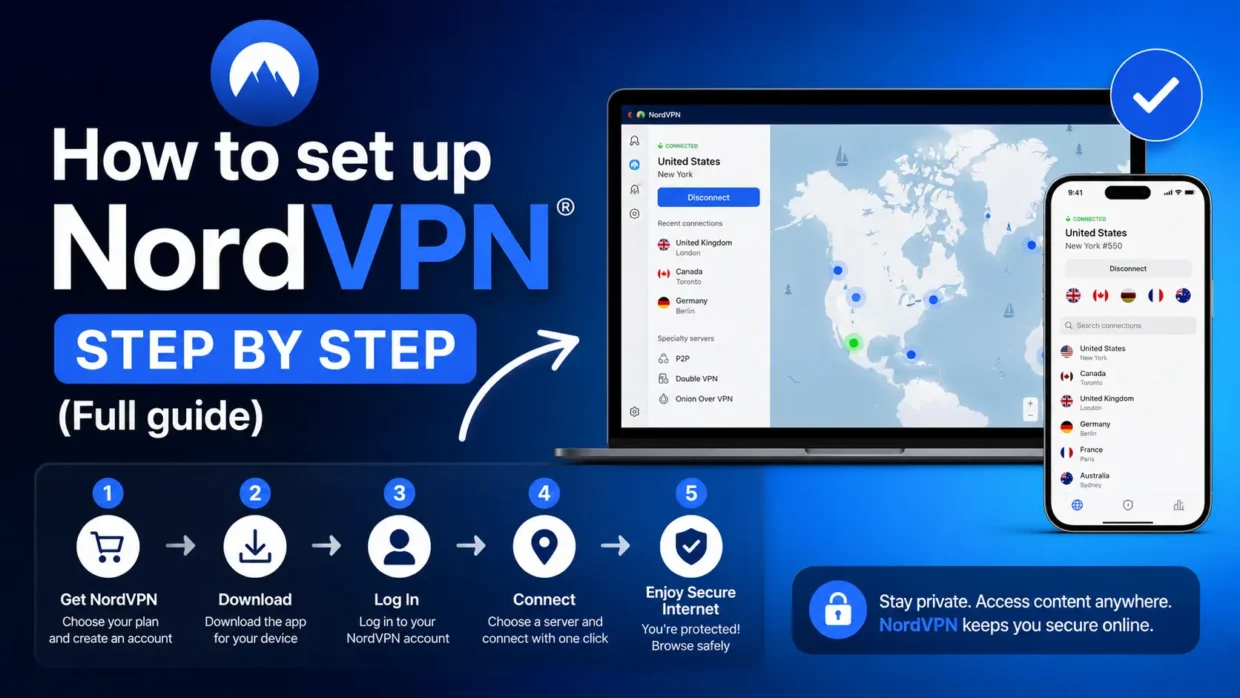
This guide walks through the full setup, not just the two-minute version. By the end, you’ll have NordVPN properly configured on every device in your household, not just installed and left on default settings.
What you’ll need
- An email address to create an account
- About 10 to 15 minutes for the full setup (2 minutes if you only do the basics)
- The devices you want to protect. This works best if you gather them upfront rather than doing one, forgetting, and coming back weeks later.
Step 1: Create your account and choose a plan
Go to nordvpn.com and choose a subscription length. The pricing structure rewards longer commitments heavily. A two year plan typically works out to a small fraction of the monthly price of a one month plan, so if you’re fairly confident you’ll keep using it, the longer plan is almost always the better financial decision.
A few things worth knowing before you commit:
- The renewal price is higher than the introductory price. This is standard across the VPN industry, not specific to NordVPN, but it catches people off guard. Note the renewal date and price shown at checkout.
- You get a 30 day money back guarantee on standard plans, so there’s no real risk in trying it properly before deciding.
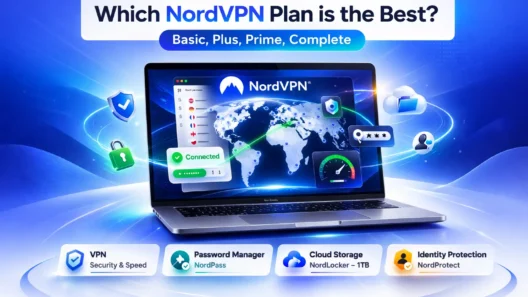
- Higher tiers (often called Ultimate or Complete) unlock extra features, like Threat Protection Pro’s malware scanning and identity monitoring tools. The base plan covers the core VPN functionality (hiding your IP and encrypting traffic) perfectly well.
Create your account with your email, set a password, and complete checkout. You’ll need these login credentials in the next step, so don’t skip creating the account first. You can’t just download the app and start clicking around.
Step 2: Download and install the app
Install NordVPN on every platform you use:
- Windows and macOS: download directly from nordvpn.com, or from the Mac App Store. On Windows, if a firewall prompt appears during install, allow access, otherwise the app can get silently blocked from connecting.
- iOS and Android: install from the App Store or Google Play. Android may ask you to allow installation from additional sources if you’re sideloading rather than using Google Play.
- Linux: supported via command line installation; NordVPN’s site has distribution specific instructions.
- Smart TVs and streaming boxes: supported on select models directly; for others, you’ll need the router method below.
- Routers: NordVPN provides setup guides for popular router models and firmware. This is the method to use for devices that can’t run a VPN app directly, like game consoles, smart TVs without native support, or IoT devices. Everything connected to that router is then covered automatically, without counting individually against your device limit.
Step 3: Log in and get familiar with the app
Open the app and sign in with the account you created in step 1. Take thirty seconds to look at the layout before connecting to anything. Knowing where things live now will save you time later:
- Quick Connect: the main button, connects you to the fastest available server automatically
- Countries / server list: lets you pick a location manually, by country or specific city
- Search bar: type a country, city, or server number to jump straight there; in recent versions this also searches Meshnet devices and specialty servers
- Threat Protection: usually a separate section or tab, not just a settings toggle
- Settings: where the Kill Switch, protocol selection, and auto-connect rules live
Step 4: Make your first connection
For most day to day use, Quick Connect is genuinely the right choice: it picks the fastest server for you automatically. But it’s worth knowing what the other options are for:
- Manual country/city selection: useful if you specifically need an IP address in a certain location (for example, accessing content or services available in another country)
- Specialty servers, available in the app under a dedicated section:
- Double VPN routes your traffic through two servers instead of one, for an extra layer of encryption. It’s slower, but useful if you want maximum privacy for something sensitive.
- Obfuscated servers disguise the fact that you’re using a VPN at all, which matters on networks that actively block VPN traffic (some school, work, or country level networks do this)
- Onion over VPN routes you through the Tor network after the VPN, without needing the separate Tor browser
- P2P servers are optimized for torrenting and file sharing, if that applies to you
For a family setup, Quick Connect covers the vast majority of use cases. Reserve the specialty servers for the specific situations they’re built for.
Step 5: Choose the right protocol
The protocol determines how your traffic is encrypted and transmitted. You’ll find this in Settings, and for most people the default is already the right answer, but it’s worth understanding the options:
- NordLynx: NordVPN’s implementation built on WireGuard. Fast and secure; this is the right default for almost everyone.
- NordWhisper: a newer protocol designed to work reliably on restrictive networks (public wifi that throttles or blocks VPN traffic, some school and workplace networks). If you or your kids frequently connect from networks that seem to block or slow down VPN connections, switch to this.
- OpenVPN: the older industry standard protocol. Slower than NordLynx but extremely well tested; a reasonable fallback if you hit connection issues.
- IKEv2: good for mobile devices because it reconnects quickly when switching between wifi and mobile data, which happens constantly on a phone.
If you’re not troubleshooting a specific problem, leave this on the default and move on. This is a “know it exists” setting, not one most people need to touch.
Step 6: Turn on the Kill Switch
This is the single most skipped setting, and it’s the one that actually matters most for the “never leave a device unprotected” promise a VPN implies.
Here’s the problem it solves: VPN connections occasionally drop for a second, whether from switching wifi networks, brief signal loss, or the app reconnecting to a different server. Without a Kill Switch, your device quietly falls back to your normal, unencrypted, IP exposed connection during that gap, and you’d never know it happened. With the Kill Switch on, the app cuts your internet access entirely the instant the VPN drops, rather than letting you connect unprotected.
Find it in Settings > Kill Switch and turn it on. There’s rarely a good reason to leave it off, especially on devices used by kids who won’t notice or think to check.
Step 7: Activate Threat Protection
Threat Protection blocks ads, trackers, and known malicious or phishing websites at the network level, before they load in your browser. On higher tier plans, Threat Protection Pro adds active malware scanning of files as you download them.
This is arguably the most important feature for a family setup specifically, because it’s one layer of defense against a kid clicking something they shouldn’t, independent of whether the VPN itself is even connected in that moment, since Threat Protection can run continuously in the background.
Turn it on from the dedicated Threat Protection section in the app. If you’re on a plan that includes Threat Protection Pro, there’s a separate toggle for the malware scanning component. Enable that too.
Step 8: Set up auto-connect
In Settings > Auto-connect, you can set the app to launch and connect automatically:
- On startup: the VPN connects as soon as the device turns on, so you’re never running unprotected because someone forgot to open the app
- On untrusted wifi networks: the app connects automatically the moment it detects a new, unrecognized network, while letting you mark your home network as trusted so it doesn’t unnecessarily route your home traffic through a VPN server
This setting matters more on kids’ devices than anywhere else. A teenager is not going to remember to manually open a VPN app before connecting to a friend’s wifi. Auto-connect removes that dependency entirely.
Step 9: Protect every device in the household
A single NordVPN subscription covers up to 10 devices connected simultaneously. Repeat steps 2 through 8 on every device you want protected, including laptops, phones, and tablets for each family member.
A practical way to allocate that limit for a household of four might look like:
- 2 adult phones
- 2 kids’ phones or tablets
- 2 laptops
- 1 to 2 spare slots for guests or a device you use while travelling
If you have more devices than that, such as smart TVs, game consoles, or a home server, set up NordVPN on a compatible router instead. Every device on that network is then covered automatically without using up an individual device slot, which is the practical solution once a household exceeds the 10 device cap.
Step 10: Add extra layers, if you want them
These aren’t essential for basic protection, but they’re worth knowing about:
- Dark Web Monitor: runs continuously and alerts you if an email address tied to your account turns up in a known data leak. Useful for catching account compromises early, including ones that have nothing to do with the VPN itself.
- Meshnet: creates encrypted direct connections between your own devices, useful for remotely accessing a home computer or securely sharing files with someone without uploading them to a third party service first.
- Split tunneling: lets you choose which apps go through the VPN and which connect directly. Handy if one specific app misbehaves over VPN (some banking apps do) while you still want everything else protected.
Step 11: Verify it’s actually working
Don’t just assume it’s running. Check the following:
- Connect the VPN, then search “what is my IP address” in your browser. The location shown should match the VPN server you connected to, not your real location.
- Run a DNS leak test (search “DNS leak test,” several free tools exist) to confirm your real DNS requests aren’t leaking outside the encrypted tunnel.
- Test the Kill Switch deliberately: connect to the VPN, then manually disable your wifi for a second and turn it back on. If the Kill Switch is working, your apps should briefly lose internet access entirely rather than falling back to an unprotected connection.
Troubleshooting common issues
Connection is slow. Try a server closer to your physical location, or switch protocol to NordLynx if you’re on OpenVPN. Specialty servers like Double VPN are inherently slower, and that’s the tradeoff for the extra encryption layer.
Can’t connect at all on a specific network. Some networks actively block VPN traffic. Switch to the NordWhisper protocol or an obfuscated server, both designed specifically to get around this.
App won’t start automatically on boot. Check that auto-connect on startup is enabled in Settings, and on Windows, confirm the app isn’t being blocked by a separate third party firewall or antivirus tool.
A specific app breaks while connected. Some banking and government apps reject connections coming from VPN IP addresses. Use split tunneling to exclude that specific app rather than disconnecting the VPN entirely.
Quick-start checklist
If you just want the essentials without re-reading the whole guide:
- [ ] Create account and install the app on every device
- [ ] Log in and connect once using Quick Connect
- [ ] Turn on the Kill Switch
- [ ] Turn on Threat Protection
- [ ] Turn on auto-connect (startup and untrusted networks)
- [ ] Repeat on every family member’s device, up to 10 total
- [ ] Set up router level protection for smart TVs, consoles, and anything else that doesn’t run the app directly
- [ ] Verify with an IP check and a DNS leak test
FAQ
Will this slow down my internet noticeably?
For everyday browsing and streaming, the difference is minor on a decent connection. Specialty servers (Double VPN, Onion over VPN) are the exception. Those are visibly slower by design.
Do I have to turn this on every time?
No. Once auto-connect is configured in step 8, it runs in the background without you thinking about it.
Does this protect my kids even on their mobile data, not just wifi?
Yes. The VPN app runs the same way on cellular data as on wifi, which matters because mobile data is exactly the situation where there’s no separate router level protection to fall back on.
Is one subscription really enough for the whole family?
Up to 10 simultaneous devices on a standard plan, plus unlimited additional coverage for anything connected through a router setup.
Similar article: